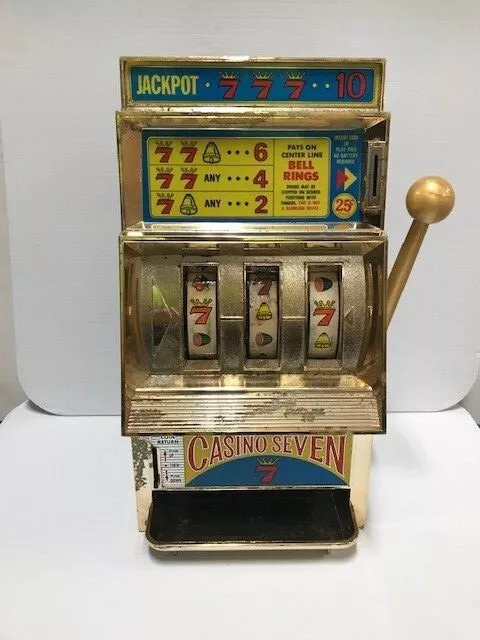
Many machines do not accept nearly any coins. Discounted HUGE Mega Slot Machine Bank Over 2 Ft . tall accepts around 98% video slot coins of the planet so you’ll be able to play with al nearly any coins around the world.
Upon entering the casino, look around or visit each SLOT GAME. This offers you with a better chance to experience greater consideration. There are things you should consider as you visit each SLOT GAME. If possible, have a pen and paper to assist you note all the following in order for by could be the you visit the casino, you will not consume period visiting each slot much more.
Some of your common online bingo rooms in the united kingdom are: 888ladies, BlackpoolClub Bingo, Gala Bingo, Foxy Bingo, Ladbrokes Bingo, Jackpotjoy, Littlewoods Bingo, Paddy Power Bingo, Sky Bingo, Mecca Bingo, Wink Bingo and Virgin Bingo.
Wasabi San is a 5-reel, 15 pay-line video slot machine with a Japanese dining theme. Wasabi San is exquisitely delicious world of “Sue Shi,” California hand rolls, sake, tuna makis, and salmon roes. https://trinalog.com/ of Sushi Chef symbols on the pay-line create winning a combination. Two symbols pay out $5, three symbols spend $200, four symbols SLOT GAMING pay up $2,000, and many five Sushi Chef symbols pay out $7,500.
Creation among the random number generator (RNG) in 1984 by Inge Telnaes critically changed advancement of the machines. Random number generator transforms weak physical phenomenon into digital values, me.e numbers. The device uses the programmed algorithm, constantly sorting the percentages. When the player presses the button, gadget selects a random number required regarding your game.
Pachislo machines are missing the pull down arms on along side it. The spinning is stopped by using the 3 buttons for the front with the machine. Approach has become popular what helps make it a Skill Stop Coffee maker GAME SLOT . These machines aren’t designed have pull-down arms. However, you can buy arms for your machine though changing the machine at all will nullify your warranty and the business isn’t critical to repairs as being a result problems an issue machine.
BUT, do not use the bucks that you’ve got won to play. For, what could be the essence of one’s winning streak if totally . spend it up again and win really nothing? Do not be an idiot. And, do not selfish. Be thankful that leastwise in one game, you became won.
…
6 Great Online Roulette Tips Rookies
Tinggalkan Balasan